
“Bloatware” is a real phenomenon with a dishonest industry attached to it. Preinstalled trial software, OEM utilities, and bundled apps genuinely consume RAM and startup time on a budget machine — but the one-click “debloat” scripts traded on forums also remove components that Windows features quietly depend on, run with full privileges on your machine, and define “bloat” by someone else’s preferences. Learning how to remove windows bloatware for emulator RAM properly means doing it with Windows’ own uninstall mechanisms, a written record, and the judgement to stop at the line where removal risk exceeds the few hundred megabytes on offer. This guide is that process.
What Actually Counts as Bloat (and What Doesn’t)
Working definition for this guide: software you never open, that runs at startup or in the background, and whose removal has no dependency consequences. Typical examples on a fresh OEM Windows 11: trial antivirus suites (the big one — they run multiple resident processes and duplicate Defender), trial office suites, casual game bundles, shopping/news portal apps, OEM “registration” and marketing utilities, third-party media players you will never launch, and sponsored Start-menu app placeholders that download on first click.
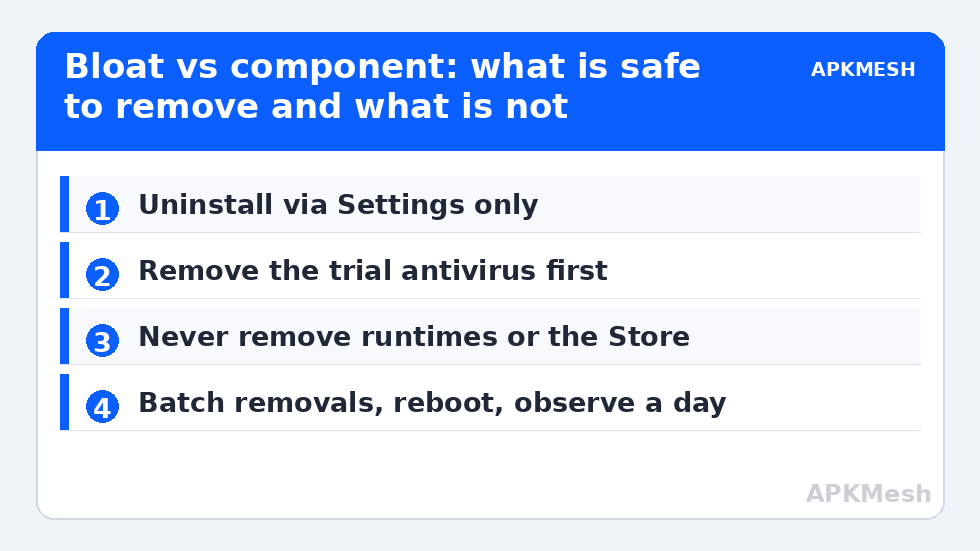
Not bloat, whatever the scripts say: Microsoft Edge (Windows components and many apps render through WebView2, which rides along), the Microsoft Store (needed to update bundled system apps and some drivers’ control panels), Windows Security/Defender, .NET and Visual C++ runtimes (your emulator likely needs these — removing them produces cryptic launch failures), Xbox services if you use Game Pass or the Game Bar recording, and any driver vendor control panel (NVIDIA/AMD/Intel utilities are how you reach settings this category’s other guides use). Removing runtimes to “save space” is the classic self-own: the saving is tens of megabytes, the breakage is total.
The Safe Removal Process
- Inventory: Settings → Apps → Installed apps, sorted by size. Note everything you do not recognise; search the name before touching it — a five-minute check separates an OEM updater (keep-ish) from a trial (remove).
- Create a restore point and start a notes file: app name, date, reason. App removals are generally reversible via the Store or vendor site, but the note makes it effortless.
- Uninstall via Settings (or the app’s own uninstaller from Control Panel for desktop programs). The trial antivirus deserves its vendor’s official removal tool if the standard uninstall leaves services behind — McAfee and Norton both publish one; use only the genuine vendor page.
- Startup pass: Task Manager → Startup apps — disable (not uninstall) the updaters and helpers of things you keep but do not need resident.
- Reboot and use the machine normally for a day before round two. Removing in small batches means a breakage has an obvious suspect.
Lag risk: —
The AppX Middle Ground: Remove for Current User, Keep It Reversible
For bundled Store apps (the placeholders and casual games), the Settings uninstall is enough; you do not need PowerShell AppX removal commands, and the common scripts’ habit of removing packages for all users and stripping the Store’s ability to restore them is precisely the overreach to avoid. If Settings offers no uninstall button for something bundled, that is information: Microsoft considers it a component. Leave it. The gigabytes are not hiding there — check instead with the storage audit in our cleanup guide, which usually finds the real weight in update leftovers and emulator instances.
Realistic Returns, and Where the RAM Actually Goes
A thorough pass on a fresh OEM laptop typically returns 300MB–1.2GB of resident memory (dominated by the trial antivirus and vendor suites), several seconds of boot time, and a quieter notification tray. On a clean self-installed Windows, there is almost nothing to remove and this guide should take four minutes. If RAM pressure persists afterwards, the honest next steps are structural: startup load (the services and startup guide), per-instance emulator RAM allocation, and the commit analysis in our pagefile guide. Debloating is hygiene with a ceiling, not a hardware upgrade — but on a 4GB machine hygiene is worth real frames, which is why it earns its place in the PC Optimization programme at all.
Red Lines: What the Aggressive Scripts Break
- Removing the Store breaks updating of Photos, Media Player, and several inbox components over time — a slow-motion self-inflicted wound that surfaces months later, unconnected in the user’s mind with the script.
- Stripping Edge/WebView2 breaks apps that render help, launchers, and login flows with it (including some emulator-adjacent tools).
- Disabling update-related services under the banner of debloat leaves the machine unpatched — a security cost no RAM saving justifies.
- Any script you cannot read end-to-end before running is, by definition, untrusted code with admin rights. The manual method is the entire point.
A Reality Check You Can Run in Two Minutes
Before removing anything, quantify the opportunity so you know whether the afternoon is worth it. Open Task Manager after a fresh boot and five idle minutes: if total memory use is under roughly 35% of your RAM and the biggest non-system residents are programs you actually use, bloat is not your constraint and the correct next step is elsewhere (allocation or capacity). If idle use is above 50% on an 8GB machine and the top of the Processes list is a parade of vendor assistants, trials, and launchers, the removal pass is justified and its result will be visible the next time you open the same screen. Photograph or note the “before” numbers; they become part of your baseline record and stop the entire genre of “I think it helped” from entering your decision-making. The debloat conversation, like everything else in this category, ends with measurement or it does not end at all.
One related Windows-provided lever belongs here: Settings → Apps → Archived apps and the “Let apps run in the background” permissions for Store apps you keep. Archiving rarely used Store apps offloads their packages while keeping icons and data associations, and per-app background permission denial quietly stops a category of resident behaviour without an uninstall decision. Small numbers individually; on a 4GB machine, small numbers are the game.
Frequently Asked Questions
How much RAM will I actually free?
On a fresh OEM installation, typically 300MB to just over 1GB of resident usage, mostly from trial security suites and vendor assistants. On a self-installed Windows, close to nothing — which is itself the audit result telling you RAM pressure comes from your workload, not the OS install.
Is the preinstalled trial antivirus really that heavy?
Generally yes: such suites run multiple always-on services, a scanning engine duplicating Defender’s role, and periodic upsell tasks. Removing one and confirming Defender reactivated (Windows Security shows green status) is the single highest-value removal on most OEM machines. Never leave the machine with no active antivirus — Defender fills the gap automatically once the third-party suite is gone.
Can I remove Xbox Game Bar and Xbox apps if I never use them?
The Xbox app itself, yes, via Settings, if you have no Game Pass. The Game Bar component is more entangled; removing it via scripts can break Game Pass and Store plumbing. Disabling its background recording (covered in our gaming mode tweaks guide) gets the practical benefit without the surgery.
A guide told me to remove “telemetry” components with a script. Good idea?
The performance claim for telemetry removal is unmeasurable in normal testing, and the scripts that do it often break Windows Update diagnostics and Store licensing. Privacy preferences are manageable through Settings → Privacy toggles. Keep the distinction: privacy choices are yours to make in the UI; they are not an FPS strategy.
I removed something and an app broke. How do I get it back?
Store apps reinstall from the Microsoft Store library. Desktop programs reinstall from the vendor’s official site. Your notes file (step 2 of the process) tells you exactly what left and when, which converts a mystery breakage into a five-minute reinstall. System components removed by force are the painful case — another reason this guide avoids them entirely.