
Some upgrades are subtle and some are arithmetic. Storage is arithmetic. In the SSD vs HDD android emulator loading speed comparison, a mechanical drive’s spinning platters and moving heads impose 10–15ms of seek latency on every random read, while even a modest SATA SSD answers in under a tenth of a millisecond — a hundred-fold difference on exactly the workload an emulator generates: thousands of small random reads as Android boots, as games stream assets, and as the virtual disk services the guest’s own filesystem. This is why “my emulator stutters when I enter a new area” so often turns out to be a storage sentence, and why moving the emulator to an SSD is the single most reliable low-end PC upgrade. Here is the mechanism, the honest magnitudes, and how to move an emulator installation without breaking it.
Why Emulators Punish Mechanical Drives Specifically
A native PC game reads large sequential files that HDDs handle respectably (~120–160MB/s sequential). An emulator stacks two filesystems: Windows reads the virtual disk file, and inside it Android performs its own small random I/O — database queries, asset decompression sources, app data. A request that is random for Android lands at effectively random offsets in the host file, so the HDD spends its life seeking. Add the shader cache, Windows paging if RAM is tight, and another program touching the disk, and the queue depth explodes: each request waits behind milliseconds of other requests, and the emulator feels it as hitching, texture pop-in delays, and loading screens that take minutes rather than seconds. An SSD’s near-zero seek time and deep parallelism (especially NVMe) collapse those queues.
| Metric | 5400/7200rpm HDD | SATA SSD | NVMe SSD |
|---|---|---|---|
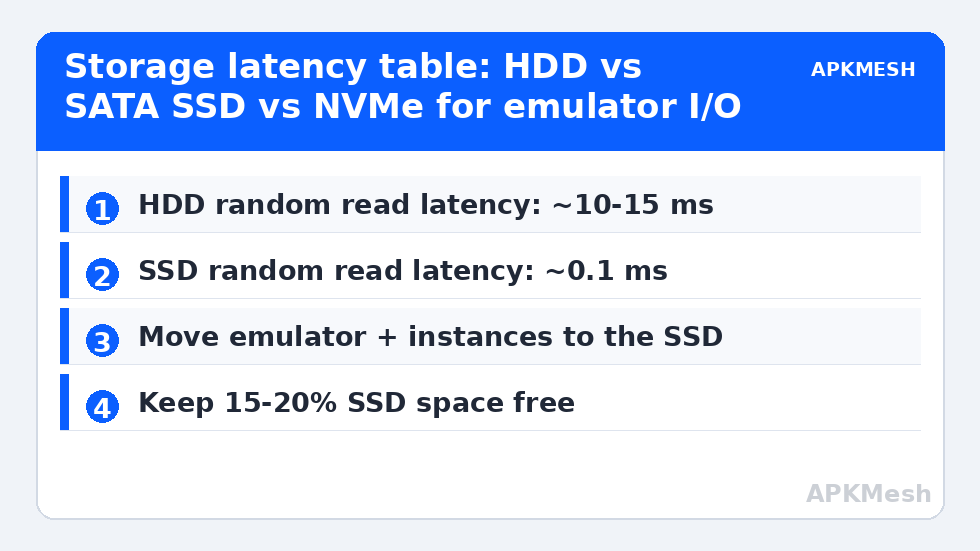
| Random 4K read latency | ~10–15 ms | ~0.1 ms | ~0.05 ms |
| Random 4K IOPS | ~100–300 | ~30,000–90,000 | 200,000+ |
| Sequential read | 120–160 MB/s | ~550 MB/s | 3,000–7,000 MB/s |
| Emulator cold boot (typical) | 60–180 s | 15–35 s | 10–25 s |
| Asset-streaming hitches in open-world games | Frequent | Rare | Rare |
Boot-time figures are typical ranges for a mid-weight instance, not laboratory promises — instance size and game choice move them — but the direction and rough magnitude are consistent on every machine this change is made.
What an SSD Will Not Fix
Storage is not a frame-rate organ. If your emulator is CPU-bound (the pattern our Afterburner monitoring guide teaches you to recognise), an SSD will make loading and streaming dramatically better while leaving in-scene FPS nearly untouched. Set expectations correctly: the wins are boot time, game loading, texture/asset streaming smoothness, instance cloning speed, and the elimination of storage-caused micro-stutter. Those are large quality-of-life wins; they are not a new GPU.
Lag risk: —
Moving the Emulator to the SSD (Per Emulator)
LDPlayer
LDPlayer installs instances under its program folder. The clean method: reinstall LDPlayer choosing the SSD as the install path, or use the multi-instance manager’s backup/restore to export instances and re-import after reinstall. Some versions expose the data path in settings; if yours does, prefer the supported option over manual folder surgery.
BlueStacks
BlueStacks chooses its data location (ProgramData by default) at install time via the custom install option. To move: uninstall, reinstall selecting the SSD path, and rely on cloud saves/account sync for games — local instance data does not survive a manual folder drag because services and registry entries track the path.
MuMu / Nox
Both keep VM data beside the installation. Reinstall-to-SSD plus instance backup/restore is again the supported route. In all cases: export/back up instances first, verify the backup opens, then move. The general space discipline in our cleanup guide keeps the SSD from filling with instance creep afterwards.
Buying Notes and Placement Details
- Capacity: a 500GB SSD is the practical floor for an emulator PC (Windows + several instances + pagefile headroom). 1TB removes the arithmetic anxiety entirely.
- Interface: any SATA SSD captures most of the benefit for emulation; NVMe is better but not the difference-maker here — seek latency is. Do not overspend chasing Gen4 speeds for this use case.
- Keep 15–20% free: SSDs slow as they approach full, and TRIM needs breathing room. Check TRIM is enabled (fsutil behavior query DisableDeleteNotify = 0 means on) — Windows enables it by default for recognised SSDs.
- Never defragment an SSD. Windows’ Optimize Drives already treats SSDs correctly (it sends TRIM, not defrag); the host-file placement discussion for HDD-resident virtual disks is in our disk cleanup and defrag guide.
For the broader upgrade/tuning picture — what to do before and after the storage move — the PC Optimization hub sequences it.
Diagnose Before You Buy: Prove Storage Is Your Bottleneck
Five minutes of evidence prevents a pointless purchase. Open Task Manager → Performance → Disk (your emulator’s drive) and play the stuttering scene. If the disk’s Active time sits at 100% with Average response time spiking into tens or hundreds of milliseconds exactly when hitches occur, storage is convicted. If instead the disk idles under 20% while a CPU core is pinned, your problem lives elsewhere and an SSD will only improve loading screens. A second test costs nothing: watch the HDD LED (or the disk graph) during an emulator cold boot — continuous hard activity for over a minute on a mechanical drive is the sound of seek latency compounding thousands of times. Laptops with hybrid setups sometimes surprise their owners here: the emulator was installed to “the big drive,” which is the HDD, while the small SSD holds only Windows. In that common configuration the fix is not a purchase at all but a relocation — reinstall the emulator onto the existing SSD as described above, and keep the HDD for media and backups.
One interim trick if a purchase must wait: shrink the problem. A single lightweight instance (lower Android resolution, fewer installed games) generates far less random I/O than a bloated multi-instance setup, and moving just the emulator’s active instance folder — where the emulator supports choosing its data path — onto even a small existing SSD captures most of the win. Pair that with the space discipline from the cleanup guide so the small drive survives the arrangement.
While the emulator’s data is in transit, take two minutes to check the SSD itself. CrystalDiskInfo reads the drive’s self-reported health percentage, temperature, and total writes in one glance, and its figures change the buying maths: a bargain used SSD at 60% health is a worse home for an emulator — which rewrites virtual disks constantly — than a smaller new drive. Firmware matters too; check the manufacturer’s page for updates before the move, not after, since a firmware flash on a drive holding your only instance copy is a risk you schedule, not stumble into.
Frequently Asked Questions
My PC has both an SSD (small) and HDD (big). What goes where?
Windows and the emulator (program + active instances) on the SSD; media, backups, exported instance archives, and rarely played games on the HDD. If the SSD can hold only one or two instances, rotate: keep the current games’ instances on SSD and archive the rest — cloning back takes minutes.
Will an external USB SSD work for emulators?
Yes, over USB 3.0 or better it captures most of the benefit (latency stays SSD-class; bandwidth is capped by the link). USB 2.0 enclosures negate the point. Prefer internal installation when a slot exists; use external for laptops without one.
Does RAM or SSD matter more for emulator stutter?
Depends on the stutter’s signature. Paging stutter (RAM exhausted) needs RAM or lower allocations first — an SSD makes paging hurt less without curing it. Asset-streaming stutter on a machine with RAM headroom is the SSD’s home ground. The monitoring method in the Afterburner guide distinguishes them in one session.
How long do SSDs last under emulator write loads?
Modern consumer SSDs are rated in hundreds of terabytes written; emulator virtual disks write gigabytes per heavy day at most. A typical drive will outlive the PC around it. Enable TRIM, avoid filling past ~85%, and stop worrying — the “emulators eat SSDs” claim is a decade out of date.
Can I clone my whole Windows install from HDD to a new SSD instead?
Yes — drive cloning (Samsung Data Migration, Macrium Reflect, or the SSD vendor’s tool) moves Windows and everything else intact, and is the right choice when the SSD replaces the system drive. Emulator-only moves (reinstall + instance backup) are less disruptive when Windows already lives on an SSD.