To use the on-screen key overlay in an emulator well, treat it as a training instrument with a planned retirement, not as a permanent HUD decoration. BlueStacks draws your scheme’s controls over the game — key labels on translucent markers showing exactly where each tap spot, joystick and skill pad lives. At high opacity it is the fastest way to learn a new scheme and the single best debugging tool when a binding misbehaves, because it shows what the emulator thinks you mapped rather than what you remember mapping. At zero opacity (overlay off) it gets out of the way of the game you are trying to see. The skill is in the fade between the two: this guide sets opacity by learning phase, uses the overlay to diagnose three classic mapping faults, and covers the recording/streaming interaction that catches players out.
Find the controls in either of two places: the Controls Editor shows overlay-related toggles while you edit, and the in-game ‘Game controls’ menu (the keyboard icon on the BlueStacks sidebar while a game runs) carries the on-screen controls switch and the opacity slider for live adjustment without opening the full editor — the slider is the one you will actually use mid-session, so learn its location now.
Toggling and Setting Opacity Live
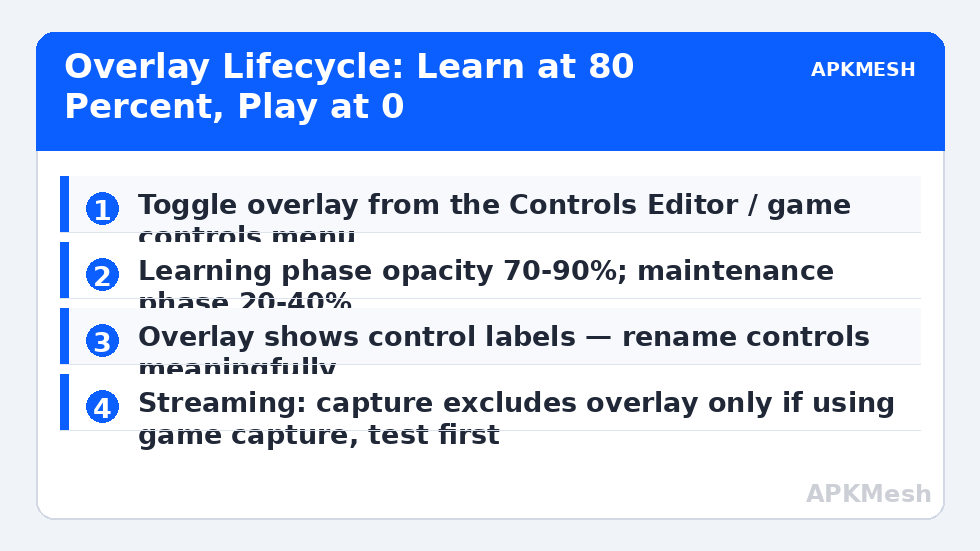
While the game runs, open the sidebar’s game controls menu and switch ‘On-screen controls’ on; the overlay appears with your active scheme’s controls. Drag the opacity slider and watch the markers fade — the useful range is narrower than the slider suggests. Below about 15% the labels are unreadable and the overlay is decoration; above 90% the markers shout over the game art. For learning a scheme, 70-90% for the first sessions is right: you are reading labels constantly and the game can tolerate being looked at through frosted glass for an hour. As the bindings move into your fingers, drop to 30-40% — present when you glance, invisible when you do not. The final state for mastered schemes is off, toggled back on only for debugging or when a game update shuffles the HUD (the situation our keymapping-reset guide is built around).
Labels matter as much as opacity. The overlay displays each control’s key and, for named controls, its label; when you build or edit a scheme, give important controls human names (‘Heal’, ‘Ult’, ‘Free look’) instead of accepting ‘Tap spot 7’. During the learning phase your eyes read names, not positions, and a well-labelled overlay teaches the scheme in a couple of sessions. LDPlayer’s editor offers the same overlay concept (its keymapping panel shows hints with an opacity/visibility control), so the phase method below ports directly if you play on both emulators.
Lag risk: —
The Overlay as a Debugging Instrument
Three faults become trivially visible with the overlay on. First, the phantom zone: a tap spot left over from an earlier layout sitting on top of your joystick area, eating inputs intermittently — invisible without the overlay, obvious with it. Second, the offset zone: after a game update, the marker visibly misses the button it should cover; the overlay turns a vague ‘controls feel wrong’ into a precise ‘the ult marker is 40 pixels left of the ult’. Third, the overlapping pair: two controls claiming the same screen region, where the editor resolves input to one of them unpredictably — the overlay shows both markers stacked, and the fix (shrink or move one) is immediate.
Make it a habit: any time a binding ‘stops working’, overlay on at full opacity before any other diagnosis. Half of such reports are the scheme selector having switched (the overlay header shows the active scheme name) and most of the rest are zones visibly out of place. Thirty seconds of looking beats thirty minutes of rebinding on suspicion — the same evidence-first discipline our input-lag guide applies to delay complaints.
| Phase | Opacity | Purpose | Exit condition |
|---|---|---|---|
| Learning (sessions 1-3) | 70-90% | Read labels; build the mental map | You stop reading before pressing |
| Consolidation | 30-40% | Glance-level confirmation | Full matches with zero label checks |
| Mastered | Off (0%) | Clean view of the game | Toggle on only to debug or teach |
| Debugging | 90-100% temporarily | Inspect zones, scheme name, overlaps | Fault identified and fixed |
| Teaching a friend | 80% + screenshot | Documentation for a shared profile | Screenshot saved with export |
Recording, Streaming and Screenshots
Decide the overlay question before you record or stream, because capture methods differ: a game-capture source in OBS-style software may or may not include the emulator’s overlay depending on how the emulator renders it, while a display-capture always includes it. Test with a ten-second recording. Many creators keep a low-opacity overlay on for viewers (it teaches the audience your inputs, which some audiences love) and off for cinematic content. For screenshots that document a profile for sharing — which our export guide recommends bundling with every scheme — overlay at 80-90% over a neutral game screen (training area, not a boss fight) is the clearest documentation format there is.
Performance footnote: the overlay is cheap, but on genuinely low-end PCs every composited layer is a small tax; if you are chasing frames on integrated graphics, mastered-phase overlay-off is also the performance-correct choice. Do not accept a murky middle where the overlay is on at 20% ‘just in case’ while the game stutters — either use it or switch it off.
A Fade Plan You Will Actually Follow
Write the phase changes into the scheme’s life rather than your intentions. Session one and two: 80%. Session three: if you played the last match without reading a label, drop to 35%; if you still read labels, stay. After any HUD-moving game update: back to 90% for the repair session, then re-fade. When you teach the scheme to someone else or export it, screenshot at 85% for the documentation bundle. This tiny ritual is the difference between players who ‘turn the overlay off someday’ (and play through frosted glass for a year) and players whose schemes become invisible infrastructure, which is the entire point of setting them up in the first place.
Related Keymapping Guides
More from this category is collected in the Keymapping Guides archive. These companion guides go deeper on the topics touched above:
- exporting profiles with overlay screenshots
- fixing schemes after game updates
- free look state hints in BR layouts
The overlay also has a support role worth exploiting deliberately. When a binding misbehaves and you ask for help — in a forum, a Discord, or a friend’s DMs — a screenshot taken with the overlay at high opacity lets other people spot a misbound or missing key in seconds, work that would otherwise take paragraphs of description. Make ‘raise opacity, screenshot, lower it again’ a reflex before any troubleshooting post, and archive the screenshot with the exported scheme; together they are the complete documentation of what your fingers are actually being asked to do.
Frequently Asked Questions
How do I turn the key overlay on or off in BlueStacks?
While a game runs, open the game controls menu from the sidebar (keyboard icon) and toggle ‘On-screen controls’. The same menu holds the opacity slider, so you can fade the overlay live without opening the full Controls Editor.
What opacity should I use while learning a new scheme?
Start at 70-90% so labels are effortless to read, drop to 30-40% once you catch yourself pressing keys before reading them, and switch off when a full match passes without a single label check. Use the overlay at high opacity again whenever you debug or a game update moves the HUD.
The overlay shows a control I do not remember creating. What is it?
Probably a leftover tap spot from editing or from the game’s bundled scheme. With the overlay visible, open the editor, find that marker, and delete or move the control. Phantom zones overlapping your joystick or fire button explain many intermittent input bugs.
Will the overlay appear in my recordings and streams?
It depends on the capture method: display capture always includes it; game capture varies by emulator rendering. Record a ten-second test before a real session and choose your opacity (or off) accordingly — some creators deliberately keep a faint overlay as a teaching aid for viewers.
Does leaving the overlay on hurt performance?
Slightly, on low-end integrated graphics, because it is one more composited layer. The effect is small, but mastered schemes should run overlay-off anyway — if you are not reading it, it is only costing you clarity and a little GPU.