

To fix mouse sensitivity acceleration in an emulator game, you have to find which of three different systems is rewriting your hand movement. Windows applies its own pointer curve, your mouse firmware applies DPI, and the emulator applies its own sensitivity multiplier — and in many emulator builds there is a fourth, a smoothing or acceleration option inside the shooting-mode settings. Players usually respond by dragging one slider at random until a match feels good, then wonder why it feels wrong tomorrow. The correct approach is a short elimination sequence: freeze the Windows layer, freeze the DPI layer, then calibrate the emulator layer against a physical measurement you can repeat any day — centimetres of mouse travel per 360-degree turn.
Do the steps in order and do not skip the boring one. The boring one is printing your final numbers somewhere (a sticky note, a text file in the emulator’s folder) so a Windows update, a new mouse or a borrowed PC does not reset a month of muscle memory.
Step 1: Freeze the Windows Layer
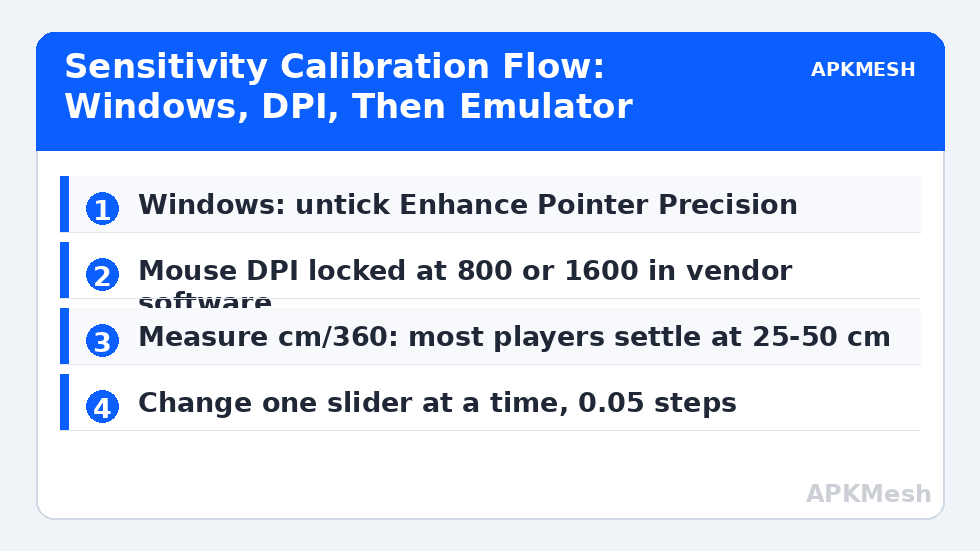
Open Settings > Bluetooth & devices > Mouse > Additional mouse settings, go to the Pointer Options tab and untick ‘Enhance pointer precision’. Despite the friendly name, this is acceleration: the same physical stroke produces different cursor distances depending on speed. Emulator shooting modes map mouse movement to camera angles, so Windows acceleration becomes angular acceleration in game — slow tracking feels sluggish, fast flicks overshoot wildly. While you are in Windows settings, set the pointer speed slider to the 6th notch (6/11), the 1:1 position, so Windows neither adds nor drops counts before the emulator receives them.
If you use vendor mouse software (Logitech G Hub, Razer Synapse, SteelSeries GG), confirm it is not applying its own angle snapping or a per-profile acceleration toggle, and disable ‘pointer precision’ equivalents there too. Save one profile named EMULATOR with a single DPI stage, so an accidental DPI-button press cannot cycle to a different value mid-match.
Lag risk: —
Step 2: Freeze the DPI Layer and Pick an Anchor
DPI (really CPI) is how many counts the sensor reports per inch of travel. Emulator sensitivity sliders multiply whatever the mouse sends, so DPI and in-emulator sensitivity are two dials controlling one outcome. Pick one anchor — 800 DPI is the conservative classic, 1600 DPI gives finer granularity for the same hand speed — and lock it. From then on, every adjustment happens inside the emulator, and your settings become portable between machines. If your mouse lacks software, use its onboard DPI button once to reach a known stage and then tape over the button; this sounds crude and has saved many ranked nights.
Polling rate also lives in this layer. 1000 Hz is standard on gaming mice and is what emulator input loops expect; dropping to 125 Hz (office mice default) makes camera movement visibly steppy in shooting mode. If your settings offer 500/1000 Hz, choose 1000 Hz for play and do not chase 4000/8000 Hz modes — several emulator builds sample input per frame and ignore the extra reports anyway.
Step 3: Calibrate the Emulator Layer with cm/360
Enter a training area, stand facing a memorable landmark, and place a ruler or a measured strip of tape along your mousepad. In shooting mode, drag the mouse slowly from the left edge of the tape until your view has turned exactly one full circle back to the landmark, and read the distance. That number is your cm/360. Adjust the emulator’s X sensitivity until a slow, controlled drag gives the cm/360 you intend (start at 35 cm if you have no preference), then repeat at a fast flick speed: with acceleration truly off, fast and slow drags over the same physical distance must produce the same angle. If they do not match, acceleration is still active somewhere — re-check the emulator’s shooting-mode panel for a smoothing/acceleration toggle and any per-game ‘mouse acceleration’ option inside the game itself.
Set Y sensitivity as a deliberate fraction of X. Most shooter players run Y at 0.85-1.0 of X; recoil-heavy games reward the lower end because vertical pulls become calmer. LDPlayer exposes X/Y inside the Shooting Mode control settings; BlueStacks exposes mouse sensitivity in the shooting mode (F1/toolbox) settings of its controls scheme. Our LDPlayer smart-controls guide walks the same panel in the context of a full layout, and the numbers you settle on here belong in that profile’s notes.
| Symptom | Most likely layer | Fix |
|---|---|---|
| Flicks overshoot, slow tracking fine | Windows acceleration still on | Untick Enhance Pointer Precision; 6/11 pointer speed |
| Everything suddenly twice as fast | DPI button bumped | Lock a single DPI stage in mouse software |
| Fast and slow drags turn different angles | Emulator acceleration/smoothing | Disable acceleration and smoothing in shooting-mode settings |
| Camera moves in visible steps | Low polling rate | Set 1000 Hz polling in mouse software |
| Vertical aim twitchy, horizontal fine | Y sensitivity too high | Set Y to 0.85-0.95 of X |
| Feels different on a second PC | Windows defaults differ | Repeat Step 1 on that PC; carry your written numbers |
Step 4: Prove It, Then Write It Down
Run a ten-minute verification routine before declaring victory: ten slow 360s (should all match your tape measurement), ten fast flicks between two targets at 90 degrees apart (you should land on or just past the target, consistently on the same side), and two minutes of tracking a moving bot. Consistency, not a single perfect flick, is the pass mark. Then record: mouse model, DPI, polling rate, Windows pointer speed notch, emulator X, emulator Y, scoped multiplier if any, and the game name, because shooting-mode panels are per-scheme. Store the note in the same folder as your exported profile — our profile export guide covers bundling the two together so a reinstall takes minutes.
Re-run the verification after any of these events: Windows feature update, mouse firmware update, emulator major version update, or switching to a monitor with a different resolution (resolution changes do not alter cm/360 in a correct raw-input pipeline, but they change how far targets appear to move, which feels like a sensitivity change and tempts players to wreck good settings — remeasure before retuning).
Related Keymapping Guides
More from this category is collected in the Keymapping Guides archive. These companion guides go deeper on the topics touched above:
- smart controls keymapping on LDPlayer
- free look controls tuned for battle royale
- input lag and delayed key fixes
Frequently Asked Questions
What is cm/360 and why should I care?
It is the physical distance your mouse travels for one full in-game turn. Unlike a bare sensitivity number, it stays meaningful across DPI changes and different PCs, so it is the one measurement that lets you reproduce a setup exactly after any hardware or software change.
Does disabling Enhance Pointer Precision affect my normal desktop use?
The cursor will feel linear instead of speed-sensitive; most people adapt within a day, and precision work like photo editing usually improves. If you share the PC, note that the setting is per Windows user account, so other users keep their own preference.
My emulator has no acceleration toggle but aim still accelerates. Why?
Check the game itself (many mobile shooters add their own camera acceleration or aim smoothing), then the mouse software, then Windows again — in that order. One of the three almost always turns out to still be on; the fast-vs-slow drag test tells you acceleration exists, and the layers tell you where to hunt.
Should I use 800 or 1600 DPI?
Either, as long as it is fixed. 800 DPI with higher in-emulator sensitivity and 1600 DPI with lower sensitivity produce the same cm/360; 1600 gives slightly smoother micro-movements on high-refresh displays. The mistake is not the choice, it is letting the value change unnoticed.
Does changing emulator resolution change my sensitivity?
It should not change cm/360 if input is handled correctly, but it changes how targets move across your screen, which feels different. Remeasure with the tape test after a resolution change and only retune if the measurement itself moved.